Thursday, April 19, 2012

Miss You!

Hello! I am back with another card for this week Freshly Made Sketches by Rita WrightIt's a wonderful blog with extremely talented ladies on board, and I am really happy participating in their sketch challenge every week. I am inspired by all the other beautiful entries. Such a great site!

Here is my take on this week's sketch!


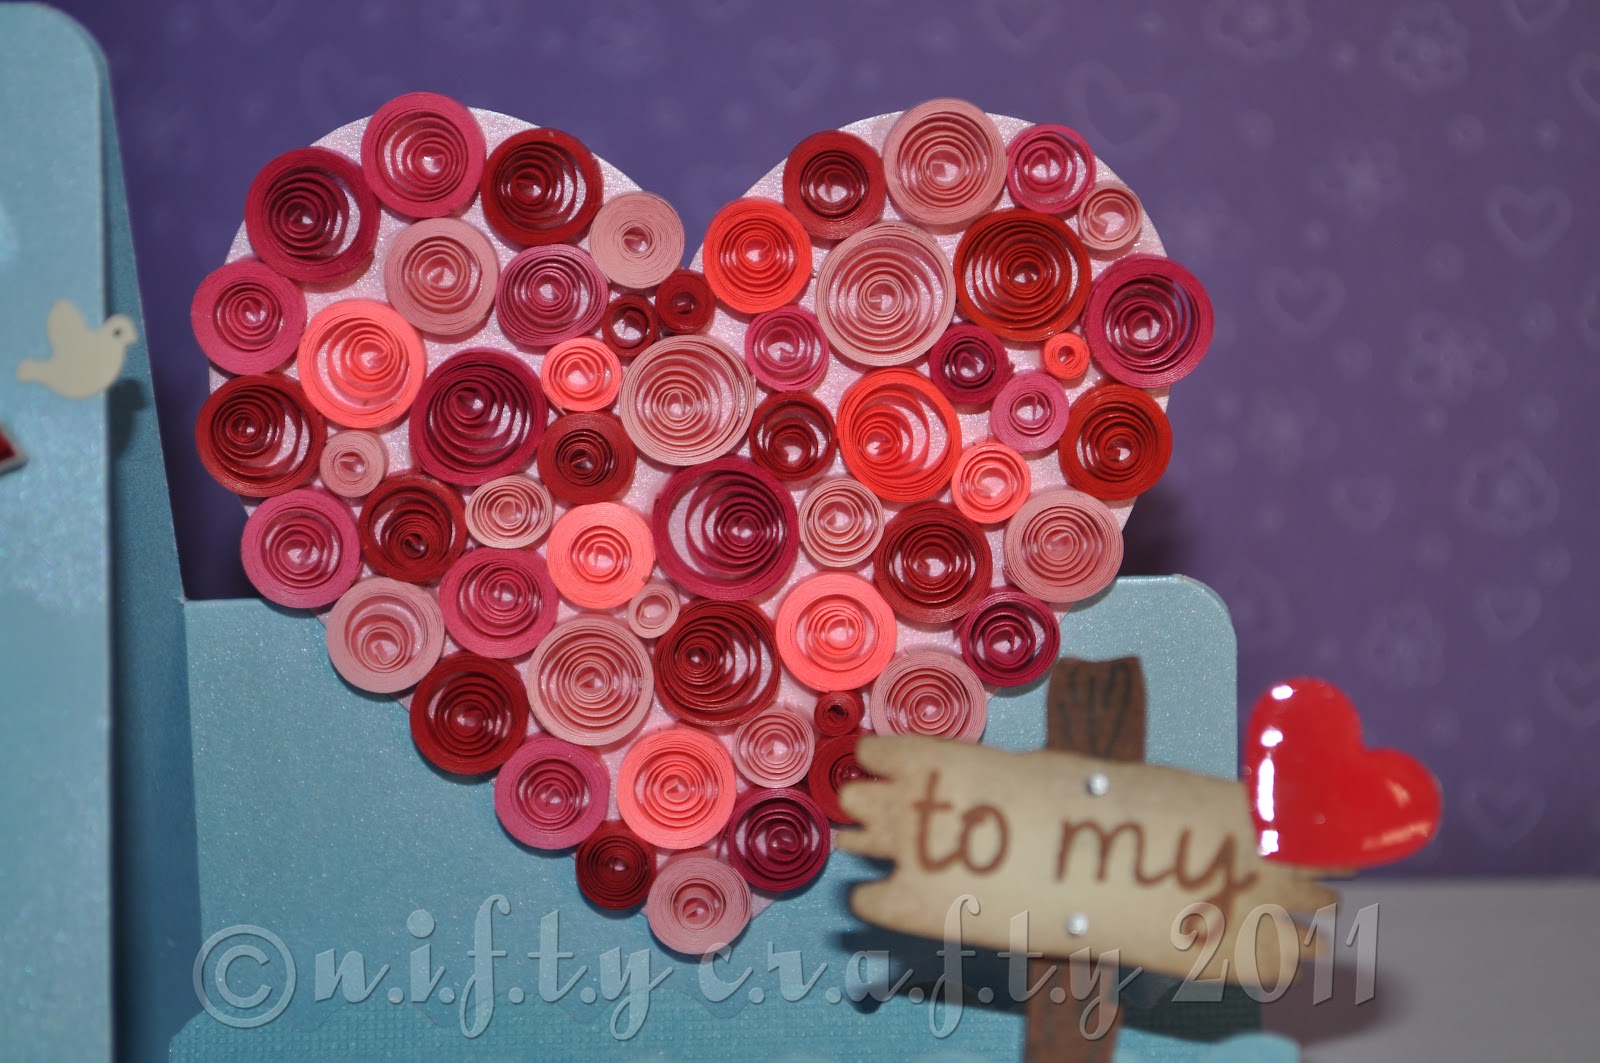
I am glad to make this card because it's little different from the usual card that I make. Yes, I have added some paper roses to create some 3D effect :) This is the first time I ever made roses using paper and I guess it turned out well! I used to make roses out of ribbons during my school days. I was so excited to make one after a long time. Well, for this card, I heat embossed the roses with white glitter powder to make it little shiny over the petals. The rest of the stuff are pretty simple - "Miss You" sentiment, two gold brads on the corners, and lovely swirls to finished off the card. 
Closer View
Hope you like it and thanks for stopping by! :)

Friday, April 13, 2012

Easy Daisy Thank You

Hey guys! This is my second post in Freshly Made Sketches. Well, I missed the last two sketches from FMS. I am super busy these days. It's hard to find time for my craft work. Anyways, I made this card for this week's sketch by Tui Nathan. I've to brief a little bit about this card as I used some of my favorite embellishments to make it.


I made some paper daisies last month which I thought would be perfect for dressing up cards. So, I used one of that to embellish the card :) and I'm crazy for swirls! Hence, I glued some paper swirls on two sides of the flower. Ribbons are my favorite piece of embellishment. But I get bored of using them just to tie bows. Here, I cut the ribbon into short pieces (about 2"), glued both ends together and nicely attached the ribbons to the side of the circle card. Then, I stamped on the "Thank You" sentiment to finished off the card.

Thanks for stopping by and have a great weekend! :)

Sunday, March 25, 2012

Button Birthday Card

Hi all! A super quick post today, sharing the card I made this morning. This will be an easy card to make in different colors and probably using different shapes too. For this card, I got four pieces of patterned paper that are 1½" x 1½" from my scrap pile and I used my corner rounder to round two of the corners of each pieces on the opposite sites. That's how I got the 'leaf' shapes. Then, I embellished the card with two cute yellow buttons on each of the green papers and finished it off with the 'Happy Birthday' sentiment along with a little gold brad. The final card measures 4¼" x 5½". I really love this color combo and want to make more cards using these colors.

Enjoy and have a great week ahead! :)

Friday, March 23, 2012

Good Luck!

Hi there! Happy Friday to you all. It's been a while since I last posted cards here. Well, I finally have one to share. Actually, I have had many cards to share but just not enough time for me to photograph and post. I am trying my best to be a better 'crafty blogger'! Hence, I decided to participate in some craft challenges. I came across this Freshly Made Sketches blog with full of super cool sketches. I am totally inspired by their sketches. Below is the sketch that inspired me! Next, is my creation using this sketch.


I love the sketch by Lesley Croghan. The first thing that came to my mind was these colorful clouds. Of course there are a lot of possibilities...but I thought this idea of using cloud shapes would be even more attractive...and that's how I came up with this fresh and cheery good luck card.
Hope you enjoyed viewing my creation. I'll be back soon with another creation to share with you all. Thanks!

Saturday, March 10, 2012

Seesaw Birthday Card

Woah!~ Here is another beach themed birthday card with bits that move! The request was pretty simple - a birthday card with two loving sea turtles. So, I tried to make a card with something moves for ages...and I just got the seesaw idea! I did a little experiment using some scrap cardstock before making the actual card.

It's a bit fiddly to do...but, had fun while making this card. I made two quilled turtles...seesawing, a colorful beach ball and I simply sketched a sand castle on a kraft cardstock and used it as the base card. Well it's not an easy peasy card...but it's unique!

Thanks and have a great day! :)

Thursday, February 23, 2012

Wider Tri-fold Birthday Card!

I am pretty excited to make another trifold card for my customer who requested this birthday card for his friend. I made this card last month for my dear friend but that was smaller than this. This time, I made the card little wider to fit in his friend's full name. Take a look at the smaller version of this card here. To me, both are nice and elegant! :)

Enjoy and thanks for viewing!

Monday, February 13, 2012

Baby Shower Thank You Note Cards

Another day, another 8 mini cards are made! For these mini "Thank You" cards, I used white polka dots card as the base. I love to make cards using polka dots pattern card as it has a fine embossed impression. I made these cards for the baby shower occasion. So, thank your guest for welcoming your sweet baby into the world with these little flowery thank you note cards.


Thanks for stopping by!

Sunday, February 12, 2012

Love Note Cards

Back again with lovely cards for the valentine's day! These mini cards have a lovely little heart stamped on a circle scalloped card and suitable for any kind of message. For e.g. I love you, be my valentine, valentine 'thank you' or could be a great love note to accompany gifts!


Hope you enjoy! Thanks for stopping by.

Saturday, February 11, 2012

I'm Nuts About You!

Hello everyone! Here is another cutie valentine's day card. This cute little guy looks adorable holding a nut with a small heart shape on it...and saying "I'm nuts about you!". This is a set of 5 cards measuring 3"x3" would be great as valentine note. I colored the little heart using the pink gel pen. I also added four tiny crystal gemstone on each corner of the square scalloped card.


Thanks and look for more!

Wednesday, February 8, 2012

Five Mini Valentine

Hello! I am more into doing simple mini note cards these days...and these simple note cards here are an example of what I love doing lately, specially for the valentine's day. I made this set of five 3"x 3" mini valentine card using kraft cardstock along with a white circle scalloped cardstock. Each card is embellished with a teeny tiny glossy heart...just a symbolic way to convey your love to your special someone. The cards are blank inside and each card comes with a white handmade envelope. Grab these cuties!


Thanks for viewing!

Tuesday, February 7, 2012

To My Love!

Hi there! Here is another creation from the beach theme for the month of love. Yes! It's a valentine card. I received an order request from a customer who wished for a beach theme valentine card. I have to say that 'beach theme' has become one of my favorite themes. The reason is because I get the chance to include some quilled decorations as a part of the card design.This time, I chose to make a simple step card...It's pretty easy to make the card base and I got the idea from here!
Side view
My previous beach cards have the quilled coconut tree, clouds and sun...so I decided not to repeat the same thing for this card. Hence, I made a colorful quilled beach umbrella in this card. If you notice closely, most of my cards will have at least one element using the red, green, blue and yellow combination. :) I enjoy making them that way!
Front view
A valentine card obviously should have the heart shape. Here, I have used different sizes of tight coils to make a quilled heart! I used the pink and red shades as I like the idea of seeing those colors combined in this design. I love the way it turned out!
Chubby heart!

I made a wooden beach sign to stamp the "to my" wordings and placed a tiny heart beside it to read as "to my love". I added some glossy accent to the cute heart to make it more dimensional and shiny. Here is the closer look!
Wooden beach sign
Enjoy! If you like this card...do share this post with your friends!

Thanks for stopping by :)

Wednesday, January 25, 2012

Tri-fold Birthday Card!

Hello! I came across this super easy folded card idea from Kristina's Friday Focus series. I couldn't resist and made this flowery trifold birthday card for my dear friend. Here it is!
Front view
Inside view - second fold
Inside view
I love the faux stitching technique used by Kristina...It gives a nice finish to the card! :)
Take care and more later!

Saturday, January 21, 2012

Hey guys!!!

Sorry about dropping off the planet for a while! I know it's weird not writing here for so long. Well, let me share some interesting things that I have learned and loved recently...

There are people who can inspire us with their creativity and talent. Kristina Werner is one of them! She is a gifted papercrafter and an excellent card maker ! I discovered her blog few months back. I was truly amazed and inspired by her work. I became her fan and I was so crazy watching her tutorials on Youtube. I just love all her MACM and Friday Focus series. Her cards and craft techniques are always an inspiration.

Thank you Kristina! :)